
Potatoes are a versatile and beloved vegetable that can be grown in various ways, even in limited garden spaces. If you have a small backyard, balcony, or even a sunny window sill, you can successfully cultivate your own potatoes in grow bags. Growing potatoes in containers is not only space-efficient but also allows for easy harvesting and minimal pest problems. In this guide, we’ll walk you through the steps to grow delicious potatoes at home using grow bags.
Materials You’ll Need:
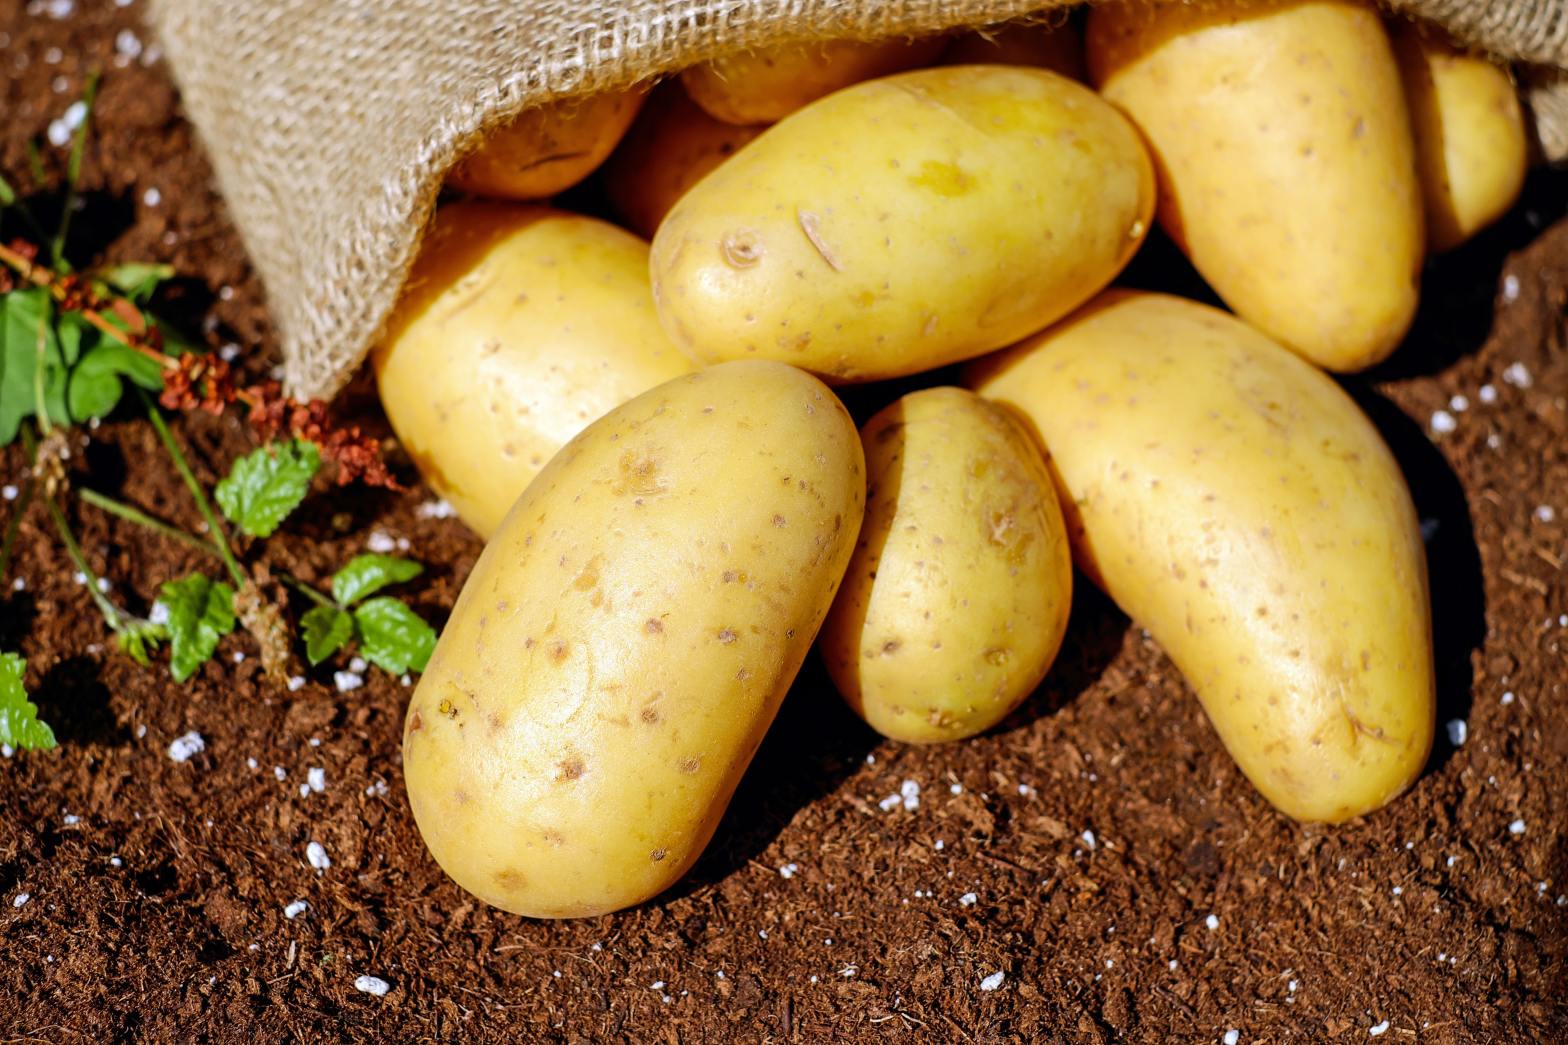
- Potato Seedlings: You can purchase certified seed potatoes from a local nursery or online. Choose disease-free varieties suited for container gardening like Yukon Gold, Red Pontiac, or fingerling potatoes.
- Grow Bags: Opt for fabric grow bags with good drainage and a capacity of at least 10 gallons per plant.
- Potting Mix: Use a high-quality potting mix or create your own mix by combining equal parts of garden soil, compost, and peat moss.
- Fertilizer: Choose a balanced, slow-release fertilizer with an NPK ratio of 10-10-10 or similar.
- Watering Can or Hose: Ensure you have a reliable water source nearby.
- Sunlight: Potatoes need at least 6-8 hours of sunlight daily, so choose a sunny spot.
Step-by-Step Guide to Growing Potatoes in Grow Bags:
1. Prepare Your Grow Bags:
- Fill each grow bag with about 4-6 inches of potting mix. Leave enough space at the top for planting the seed potatoes and adding more soil later.
2. Chit Your Potatoes:
- A few weeks before planting, lay your seed potatoes in a cool, well-lit area to encourage sprouting. Each potato should develop multiple short, sturdy sprouts called “chits.”
3. Plant Your Potatoes:
- Once your seed potatoes have chitted, plant them in the prepared grow bags. Place them sprout-side up, about 3-4 inches deep, and space them about 8-12 inches apart.
4. Cover and Water:
- Gently cover the seed potatoes with 2-3 inches of potting mix. Water thoroughly to ensure the soil is evenly moist but not waterlogged.
5. Maintain and Fertilize:
- As your potato plants grow, continue to add more potting mix to the grow bag, leaving about an inch or two of the plant exposed. This encourages the development of more potatoes.
- Fertilize your potato plants every 2-3 weeks with a balanced, slow-release fertilizer according to the package instructions.
6. Provide Adequate Sunlight:
- Ensure your potato plants receive plenty of sunlight, ideally 6-8 hours a day. If you’re growing them indoors, use grow lights to supplement natural light.
7. Watering:
- Keep the soil consistently moist, but avoid overwatering, as soggy soil can lead to rot. Water deeply whenever the top inch of soil feels dry.
8. Monitor for Pests and Diseases:
- Regularly check your potato plants for signs of pests like aphids or diseases like blight. Early detection is key to successful pest and disease management.
9. Harvesting:
- Potatoes are ready to harvest when the plants flower and start to die back. Carefully dig around the base of the plant to avoid damaging the tubers. Gently lift out the potatoes.
10. Enjoy Your Homegrown Potatoes:
- After harvesting, allow your potatoes to cure in a cool, dark place for about two weeks. This helps to toughen the skin and improve flavor.
- Once cured, store your potatoes in a cool, dry, and dark location, and enjoy them in your favorite potato dishes.
Growing potatoes in grow bags is a rewarding and space-efficient way to enjoy fresh, homegrown produce. With the right materials, care, and attention to detail, you can harvest a bountiful crop of delicious potatoes right from your own garden or balcony. So, roll up your sleeves, get your grow bags ready, and start planting your own potatoes for a truly satisfying gardening experience. Happy gardening!
